Happy New Year everyone.
In this article I am going to explain how to use manual video controls on the iPhone 11 Pro along with what accessories you will need to accomplish this task.
First, why bother. Well the difference before and after is night and day. Video footage is smooth with the correct motion effect that isn’t jagged, instead it’s smooth.
First things first, I headed over to the Moment store and bought myself their Moment Photo case for my iPhone 11 Pro. If you have some spare time, and you are into video & photography the Moment store is one helluva a great place to browse with tons of great useful gear for your phone, not just iPhones either.
Moment have 3 styles of cases for the new iPhone 11 range, and I have all 3 which I’ll be covering off the pros and cons of each shortly, however, my strong advice is just to buy their strongest and toughest case only, the Photo case. Once you have this case, you can now attach their lens, filters and more. It’s a small price to pay for the extra benefits.
In terms of filming the video, there are 2 apps I would recommend on iOS. Filmic Pro or the Moment app. If you have Moment lenses then their app is ideal. You will be advised to grab a gimbal for even smoother video footage. The DJI Osmo Mobile 3 is what I use. I’ll leave links to everything at the end of this article. In terms of filters I got a set of ND & CPL filters from Gobe on Amazon.
So now you have all the accessories and apps for your iPhone, what next. Well you need to setup the manual video controls. Here’s the rule of thumb. If shooting at 30fps , your shutter speed needs to be double at 1/60. Same rule applies for other FPS. So another example, shooting at 60fps needs a shutter speed of 1/120. The great thing about shooting at 60fps is that you can slow this down in post production for even smoother footage. For editing video on the iPhone, the best app is Luma Fusion.
Sounds simple, and it is , except now that you have a slow shutter speed, too much light will be entering the lens, so you need to attach a ND filter over the lens to counteract the extra light. In the video below, I used a ND8. I then used my DJI Osmo Mobile 3 gimbal.
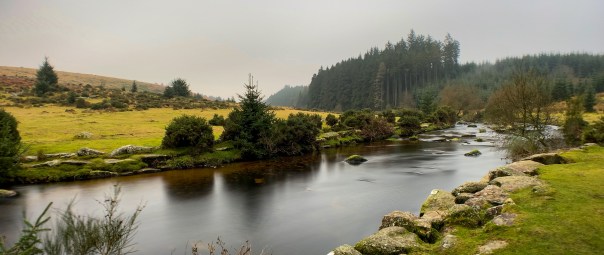
Above is a photo using the Moment Anamorphic lens. It creates a cinematic look and in video is stunning. Especially when it counters light sources as you get those blue lines across the screen.
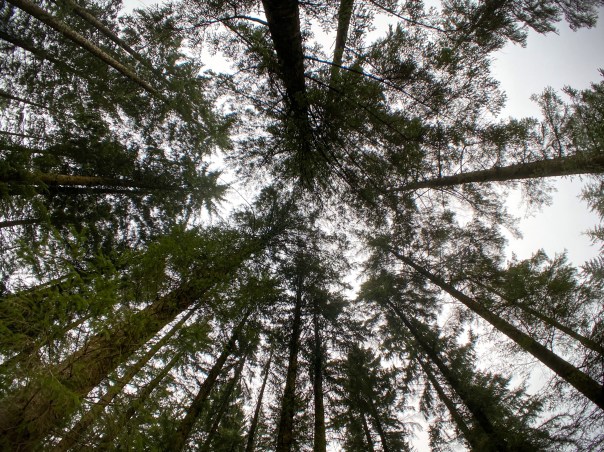
The above shot was taken using the new fisheye lens from Moment.
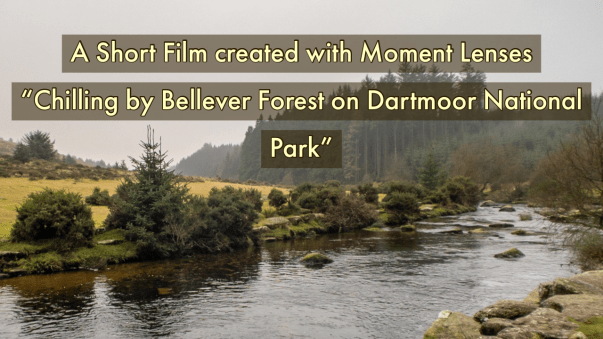
Now back to the video created. It’s just over 2 mins long so enjoy.
Useful Links
